Store historical data, query them and use them to create dashboards
Prerequisites
This section of the guide starts assuming you have already deployed your platform and deployed the core services. It also assumes you have a data flow comming to your Orion Context Broker, as pointed out in this section.
To simplify, we will store the endpoints of QuantumLeap and Orion in environment variables so that you can reuse the commands shown below with little adjustments.
$ export ORION_URL=http://192.168.99.100:1026
$ export QL_URL=http://192.168.99.100:8668
Of course, in Windows, use setx instead of export, and %VAR% instead of
$VAR.
Store Air Quality data from Context Broker in QuantumLeap
QuantumLeap tracks historical data of the entities when it receives NGSI notifications about inserts in Orion. Therefore, we need to create an NGSI subscription in Orion to notify QuantumLeap of changes in the entities for which we want to keep historical records.
If you are well experienced with Orion Subscriptions, you can create the subscription in Orion as you prefer, just make sure to use the correct notify_url that the Orion instance would need to find QuantumLeap.
Otherwise, you can ask QuantumLeap to do it for you. For this, there is an API
endpoint /v2/subscribe that will create the subscription in Orion. By default,
it will create a subscription to receive notification for ALL changes of ALL
entities that enter Orion. For this guide this is good enough; however, if you
want to adjust the scope of notifications, have a look at the /v2/ui endpoint
of your deployed QL (e.g. ${QL_URL}/v2/ui).
If you are using the SmartSDK Postman Collection, you have already a prepared call for this endpoint within the QuantumLeap folder (QL Subscribe).
Otherwise, you can call the endpoint from the command line as follows.
$ curl -X POST \
  "${QL_URL}/v2/subscribe?orionUrl=${ORION_URL}/v2&quantumleapUrl=${QL_URL}/v2" \
  -H 'Accept: application/json'
You should have received a 201 CREATED code from the previous POST. If you want to double-check all worked fine, query Orion subscriptions and see if you spot this subscription for QuantumLeap. You'll find this query in the postman collection also, otherwise you can do it using curl...
$ curl -X GET ${ORION_URL}/v2/subscriptions/ -H 'Accept: application/json'
[{"id":"5ae2faa8cfdf0100fa49eb1f","description":"Created by QuantumLeap ...]
If you want to track specific entity types only, use one subscription per each entity type.
At this point, you may be thinking "hold on, why asking QL to ask Orion to notify him back?". The answer is, Orion remains the central piece of many FIWARE deployments, and being a Broker, all information flows through it for the first time.
Query Air Quality data using QuantumLeap
QuantumLeap's Querying API is still under development, however you can already make some tests with simple queries of historical data for 1 or N attributes of a given entity.
You will find these queries in the Postman Collection, or you can try them from the command line...
e.g.: Historical values of airqualityobserved_0's precipitation.
$ curl -X GET \
  "${QL_URL}/v2/entities/airqualityobserved_0/attrs/precipitation?type=AirQualityObserved" \
  -H 'Accept: application/json'
e.g.: Last 4 Historical values of airqualityobserved_0's NO2 and CO2
attributes.
$ curl -X GET \
  "${QL_URL}/v2/entities/airqualityobserved_0?type=AirQualityObserved&attrs=NO2,CO&lastN=4" \
  -H 'Accept: application/json'
You can explore QuantumLeap's API at ${QL_URL}/v2/ui or directly into the
swagger specification.
Creating nice dashboards using QuantumLeap and Grafana
If you followed the section on deploying your services, you should have access to an instance of Grafana almost ready to interact with your historical data.
Let's assume you have your instance url saved in a variable called GRAFANA_URL.
export GRAFANA_URL=http://192.168.99.100:3000
Login to your instance ${GRAFANA_URL}/login. The default
credentials are admin/admin, but remember to change them afterwards.
You need to first configure a datasource, which can only be done once you have gone through the previous steps (i.e, QuantumLeap is already processing data). Create one datasource per entity type you care about. Follow these instructions.
You are now ready to create your dashboards using the datasources!. If you want
to have something to get started with, you can go to
${GRAFANA_URL}/dashboard/import and import the grafana/dashboard_example.json.
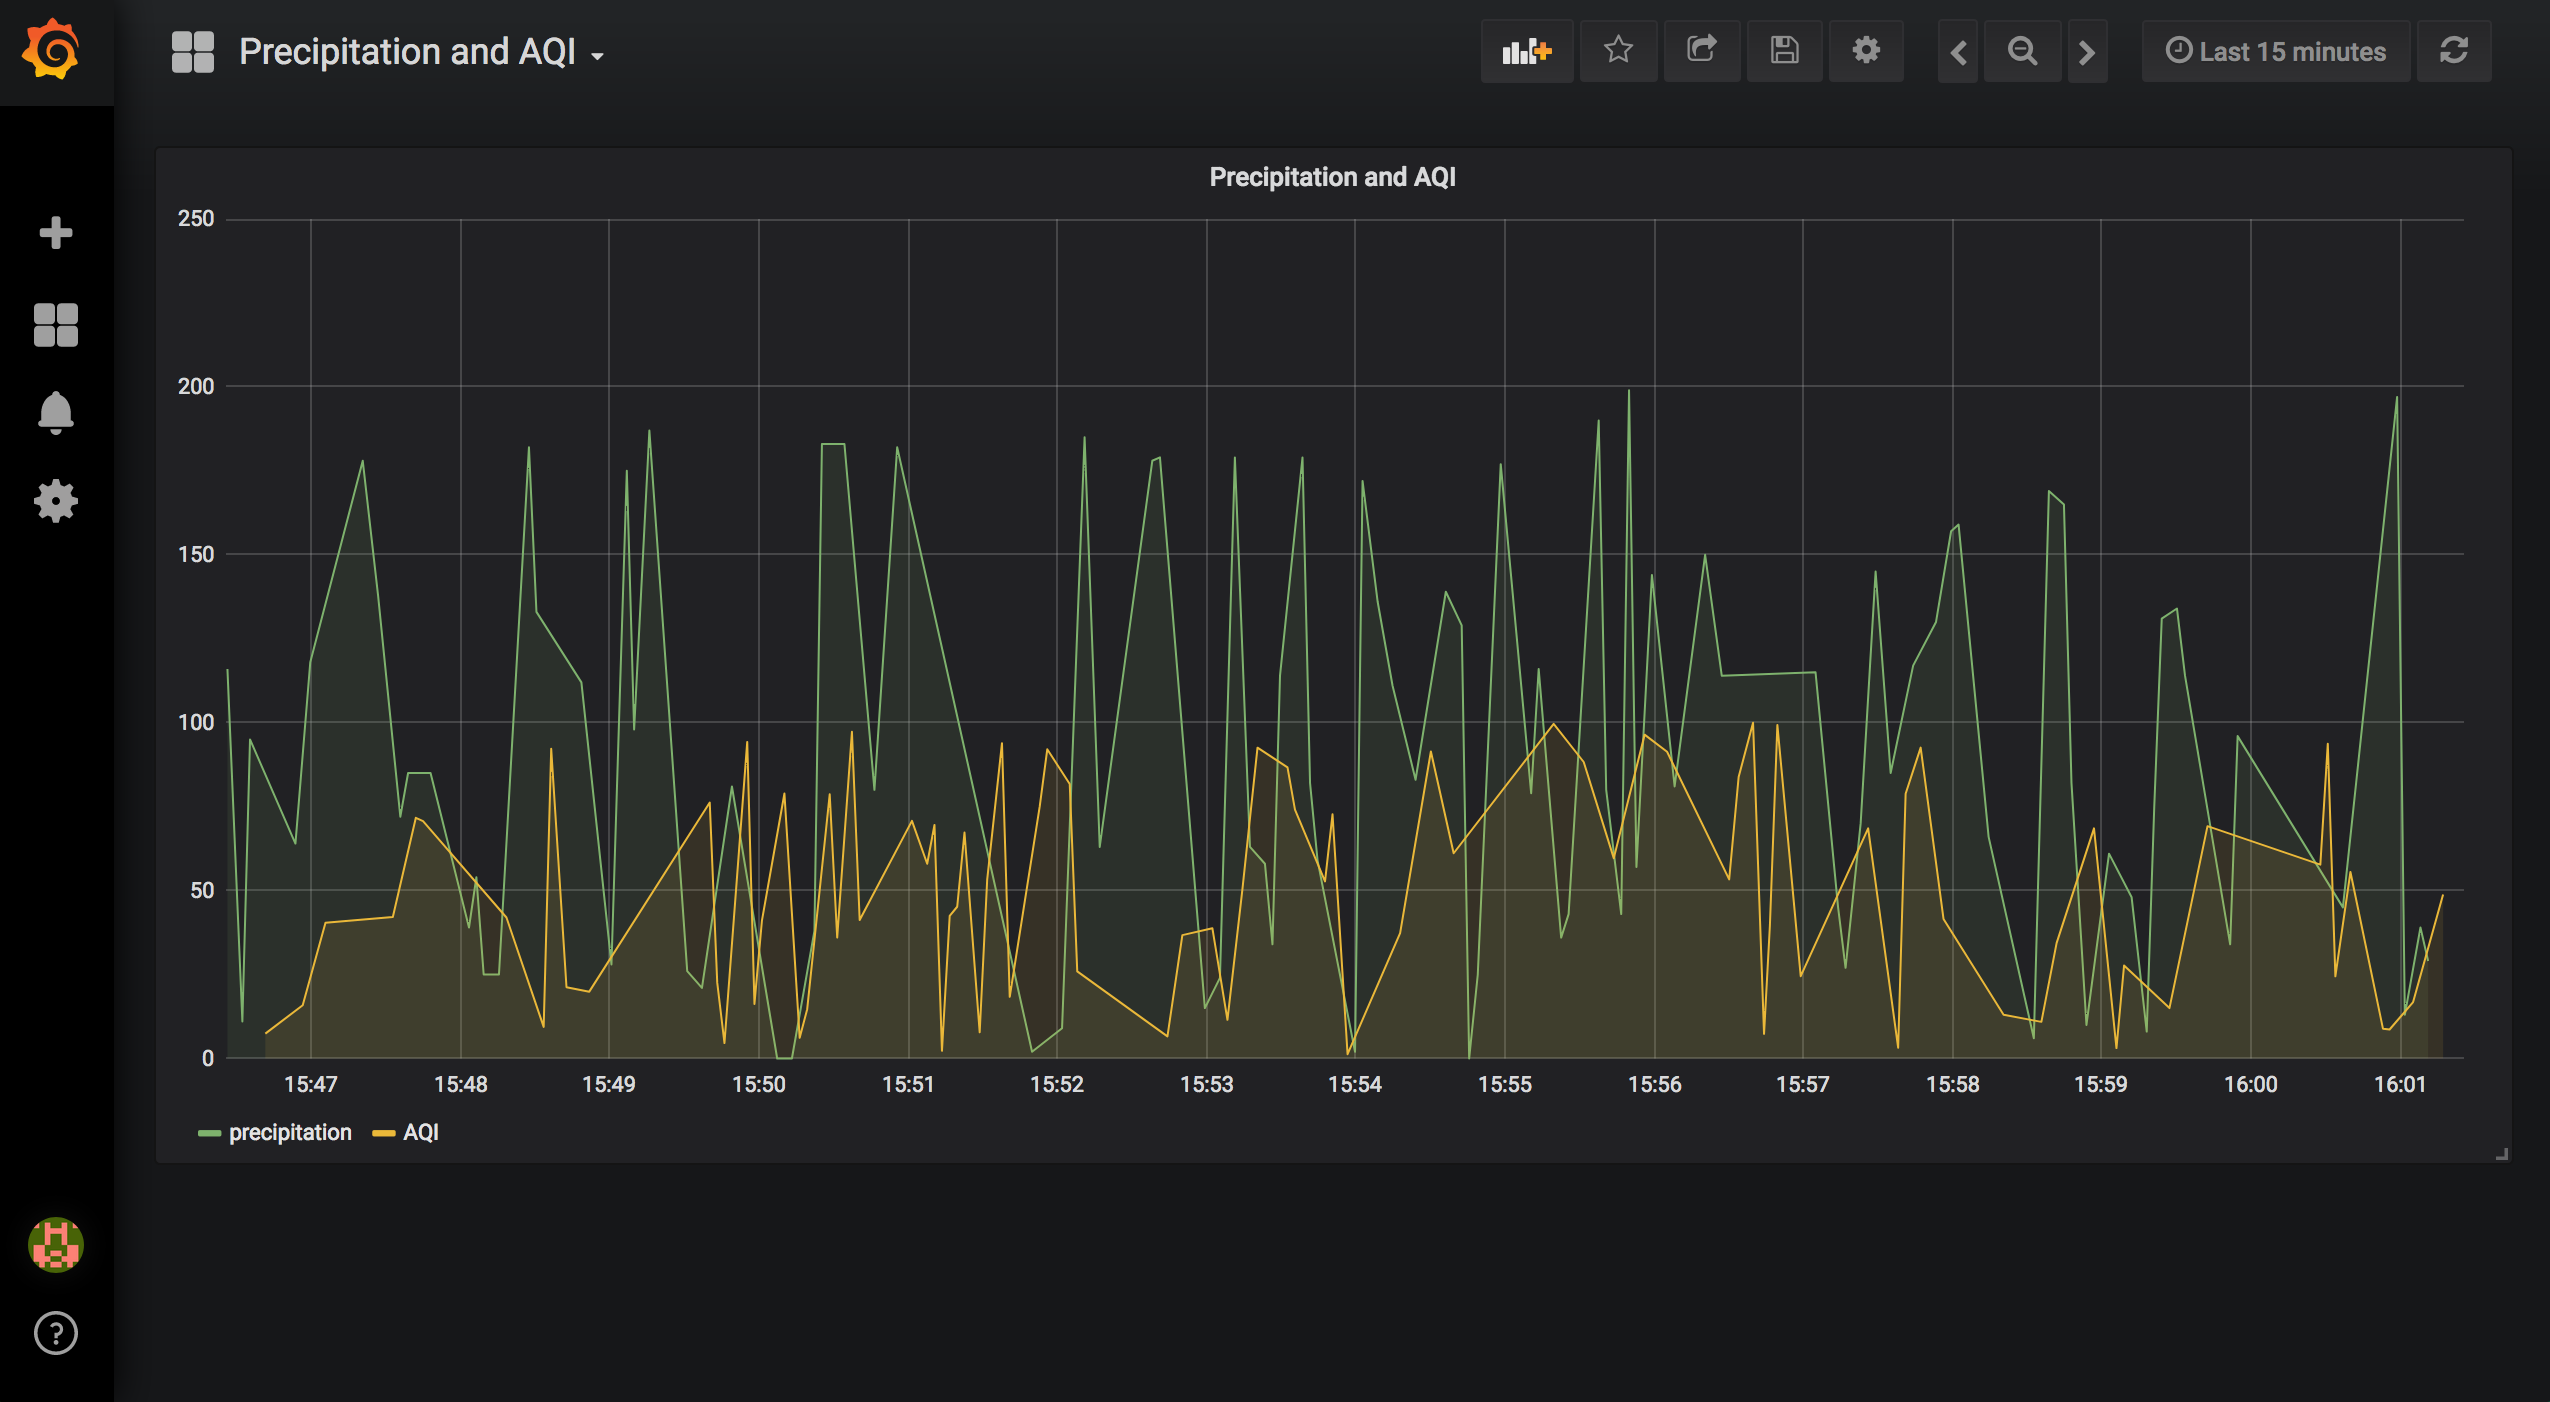
The result will look something like ...

Otherwise, we recommend you to read the official grafana docs.